To get the editor pane to show line numbers go to 'Window' -> 'Preferences' -> 'General' -> 'Text Editors' and click the checkbox labelled 'Show line numbers.
In graphical form:

Tech tips, mostly to do with Linux, Ubuntu, Grails, PHP, development tools and so on...

sudo apt-get install php5-xdebugxdebug.remote_enable=on/etc/init.d/apache2 restartphpinfo() page.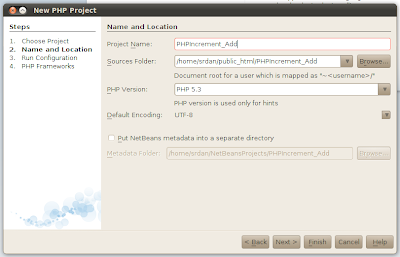
 In the template file, remove the php section and edit the file to include a simple form as below:
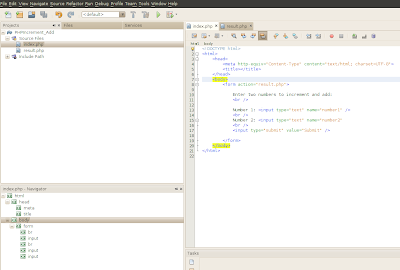 Then create a new PHP web page by right clicking on 'Source Files' -> 'New' -> 'PHP Web Page' and name the page results.php.
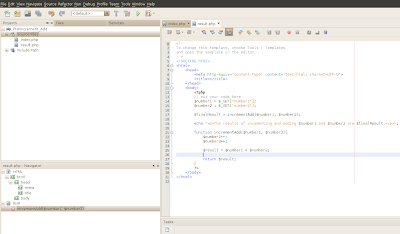 Ok, so now we have a simple web application, which takes two integers, increments them and then displays the result. We can go ahead and test this out by hitting the 'Run Project' button (or pressing F6) and we should see the following in our browser:
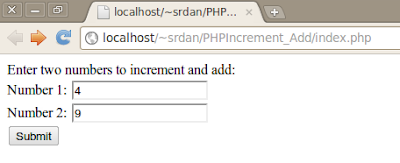 And after hitting the 'Submit' button, we can see the result:
 So now we have a very simple, working PHP application. Now lets see how we can debug our program. We've already installed and configured Xdebug, we just need to modify a few options in NetBeans. In NetBeans, go to 'Tools' -> 'Options' -> 'PHP' -> 'Debugging' and check the 'Watches and Balloon Evaluation' checkbox:
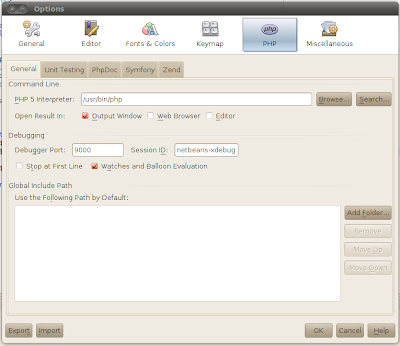 After you check the box, you might get a warning saying "Please note that Xdebug is known to be unstable if this option is enabled". I've never had Xdebug crash on me with this option enabled so far. Also note that I've left the 'Stop at First Line' option unchecked, this is just my personal preference.
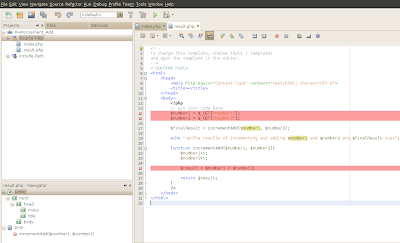 To start our debugging session, we can click on the 'Debug Project' button, which is next to the 'Run Project' button, or alternatively press Ctrl+F5.
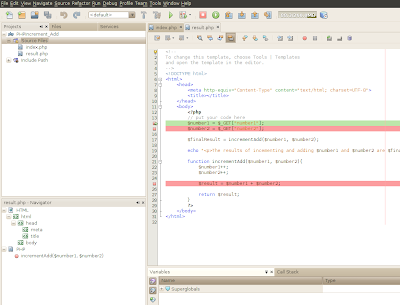
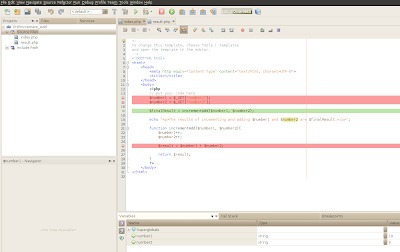 Press the 'Continue' (F5) button and the code should keep executing until it gets to the breakpoint in the incrementAdd function. Now the 'Variables' pane doesn't show us the value of $result, however we can fix that simply by right clicking on $result in the editor pane, selecting 'New Watch...' and entering $result as the 'Watch Expression':
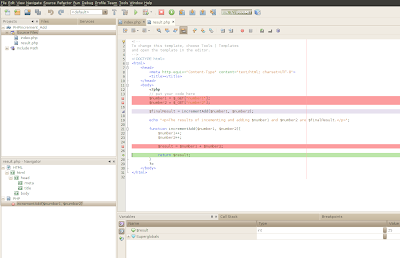 Note that the value of $result will be null on our breakpoint, but after pressing the 'Step Into' button, it's value is set.
 I've set the project name to "PHPHelloWorld" and I found that NetBeans detected my ~/public_html folder automatically:
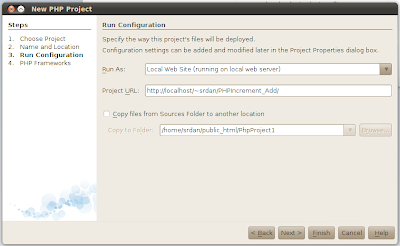
 NetBeans also detected my local web server and URL settings:
 For our simple HelloWorld application, we don't require any PHP frameworks:
 After clicking 'Finish', we end up with the default PHP template:
 Now I added some code, including a function to the index.php file. I've included a function in the code so that when you type it out you can see some of the NetBeans autocomplete features:
 Finally, click on the 'Run Project' button (or hit F6) and watch as your program deploys:
mkdir ~/public_htmlsudo a2enmod userdirsudo /etc/init.d/apache2 restart
<IfModule mod_php5.c>
   <FilesMatch "\.ph(p3?|tml)$">
       SetHandler application/x-httpd-php
   </FilesMatch>
   <FilesMatch "\.phps$">
       SetHandler application/x-httpd-php-source
   </FilesMatch>
   # To re-enable php in user directories comment the following lines
   # (from <IfModule ...> to </IfModule>.) Do NOT set it to On as it
   # prevents .htaccess files from disabling it.
   <IfModule mod_userdir.c>
       <Directory /home/*/public_html>
           php_admin_value engine Off
       </Directory>
   </IfModule>
</IfModule>
<VirtualHost www.example.com>...</VirtualHost><VirtualHost [IP Address of www.example.com host]>...</VirtualHost>