Xdebug is a PHP extension which enables you to debug your code, same as if you were using something like VisualStudio with C#. In order to install and enable Xdebug on Ubuntu, you just need to run the command:
sudo apt-get install php5-xdebugAfter this package has been installed, you have to enable remote debugging on Xdebug (it is disabled by default). Add the line:
xdebug.remote_enable=onto the /etc/php5/conf.d/xdebug.ini file. In order for the changes to take effect, you will have to restart Apache:
/etc/init.d/apache2 restartIf you ever want to verify what the Xdebug settings are set to, you can see them on the default
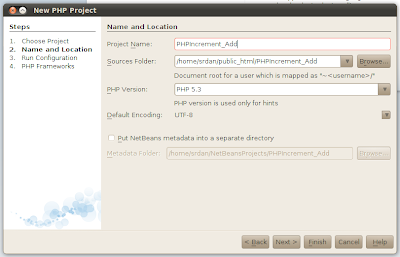
phpinfo() page.Now that we've got Xdebug running, go ahead and create a new PHP project in NetBeans and name it 'PHPIncrement_Add':
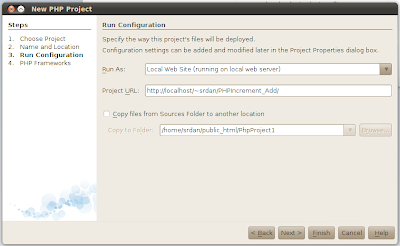
You can leave the 'Run Configuration' screen settings set to the defaults:
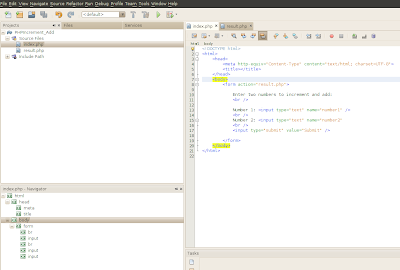
 In the template file, remove the php section and edit the file to include a simple form as below:
 Then create a new PHP web page by right clicking on 'Source Files' -> 'New' -> 'PHP Web Page' and name the page results.php.
When results.php opens in the editor window, modify it to look like the following:
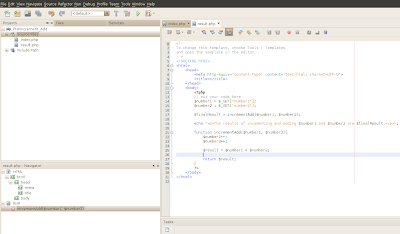 Ok, so now we have a simple web application, which takes two integers, increments them and then displays the result. We can go ahead and test this out by hitting the 'Run Project' button (or pressing F6) and we should see the following in our browser:
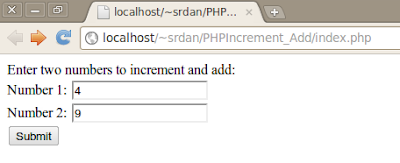 And after hitting the 'Submit' button, we can see the result:
 So now we have a very simple, working PHP application. Now lets see how we can debug our program. We've already installed and configured Xdebug, we just need to modify a few options in NetBeans. In NetBeans, go to 'Tools' -> 'Options' -> 'PHP' -> 'Debugging' and check the 'Watches and Balloon Evaluation' checkbox:
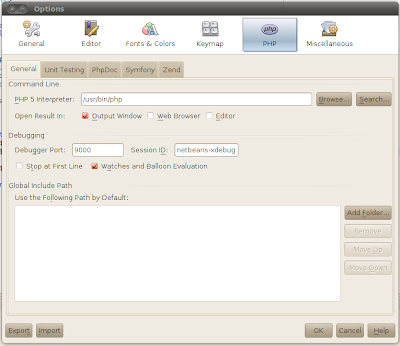 After you check the box, you might get a warning saying "Please note that Xdebug is known to be unstable if this option is enabled". I've never had Xdebug crash on me with this option enabled so far. Also note that I've left the 'Stop at First Line' option unchecked, this is just my personal preference.
Next we can go ahead and set some breakpoints by clicking in the left hand margin of the editor window, where the line numbers are shown:
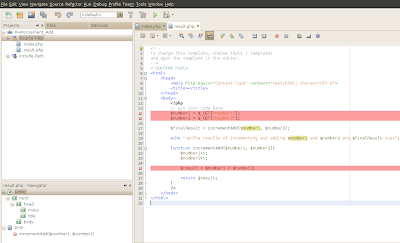 To start our debugging session, we can click on the 'Debug Project' button, which is next to the 'Run Project' button, or alternatively press Ctrl+F5.
At the start we are presented with the index.php page, so just go ahead and enter some numbers and hit the 'Submit' button. Once this is done, you will automatically switch back to NetBeans, with the debugging session started:
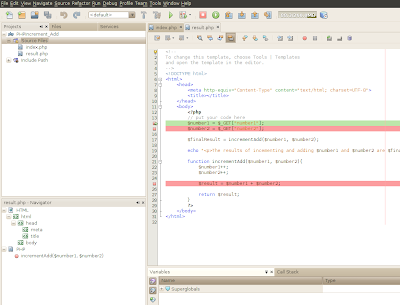
If you select the 'Variables' tab on the bottom pane and press the 'Step Into' (F7) button, you can see the values of $number1 and $number2:
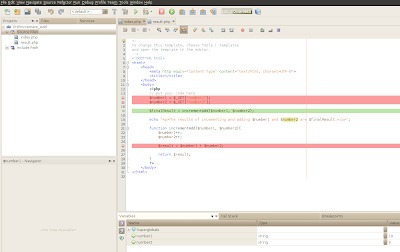 Press the 'Continue' (F5) button and the code should keep executing until it gets to the breakpoint in the incrementAdd function. Now the 'Variables' pane doesn't show us the value of $result, however we can fix that simply by right clicking on $result in the editor pane, selecting 'New Watch...' and entering $result as the 'Watch Expression':
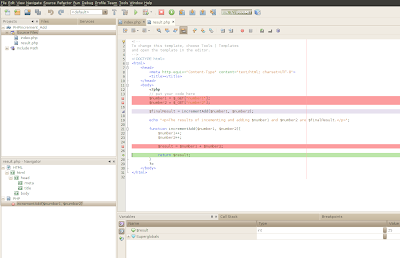 Note that the value of $result will be null on our breakpoint, but after pressing the 'Step Into' button, it's value is set.
Hit the 'Continue' button and you will see the results.php page displaying the results of the calculation.
So, in this post we've successfully installed and configured Xdebug and got it working with our NetBeans IDE, as well creating a simple project and going through a basic debugging session. Please keep in mind that this is a very simple example and that debugging for such a basic project would probably not be necessary. The debugger is especially useful when we have a obscure bug which we need to track down, we want to see the flow of control in a complex piece of code or maybe verify what values are being passed to the database.
No comments:
Post a Comment